Sunday, November 22, 2015

Nebula Jars

How to make a galaxy jar
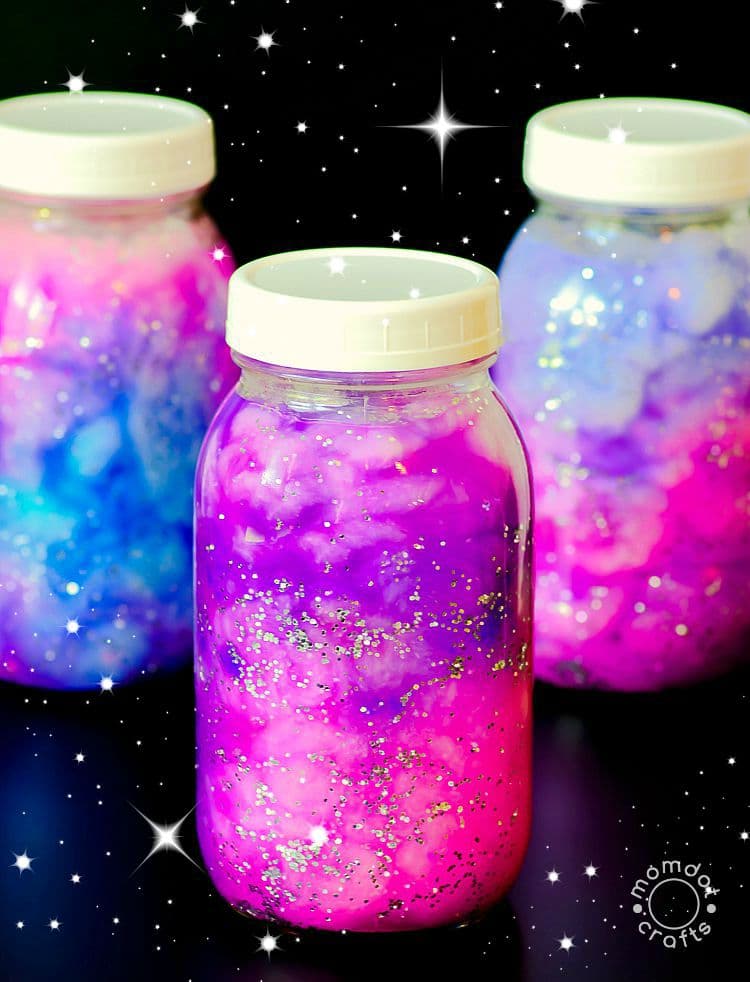
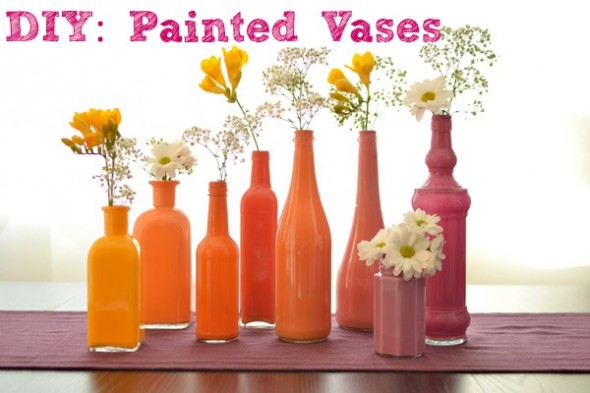
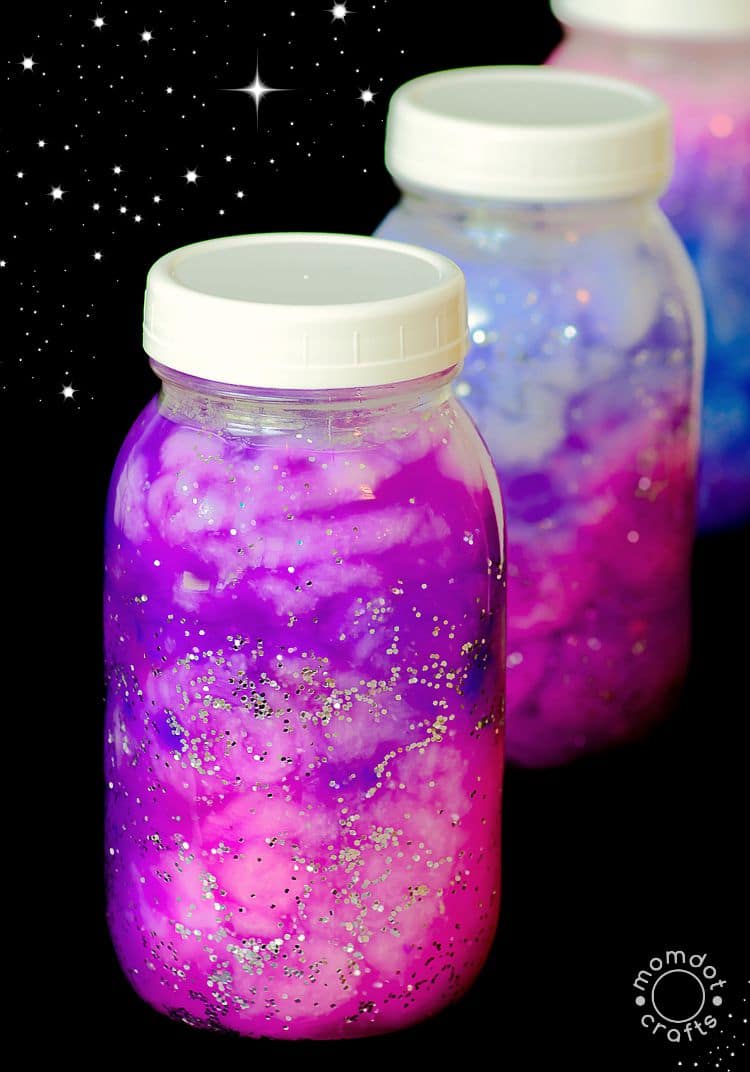
According to the dictionary, a Nebula is s an interstellar cloud of dust, hydrogen, helium and other ionized gases. These Nebula Jars are so cute and easy to make. They make a great project for both kids and adults! These jars are very colorful and can be used with a variety of different colors. They can make cute decorations and be used to add a little color and whimsy to your old unused mason jars. Lets get started!
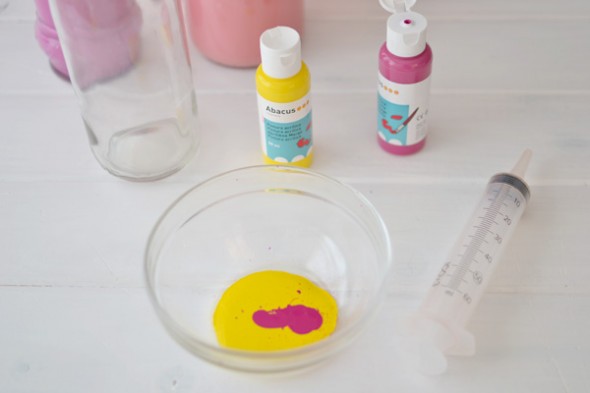
Supplies
  • Clean glass jar with a lid
  • Tempura paint (at least 2 colors)
  • Cotton balls
  • Glitter
  • Water
 Step 1
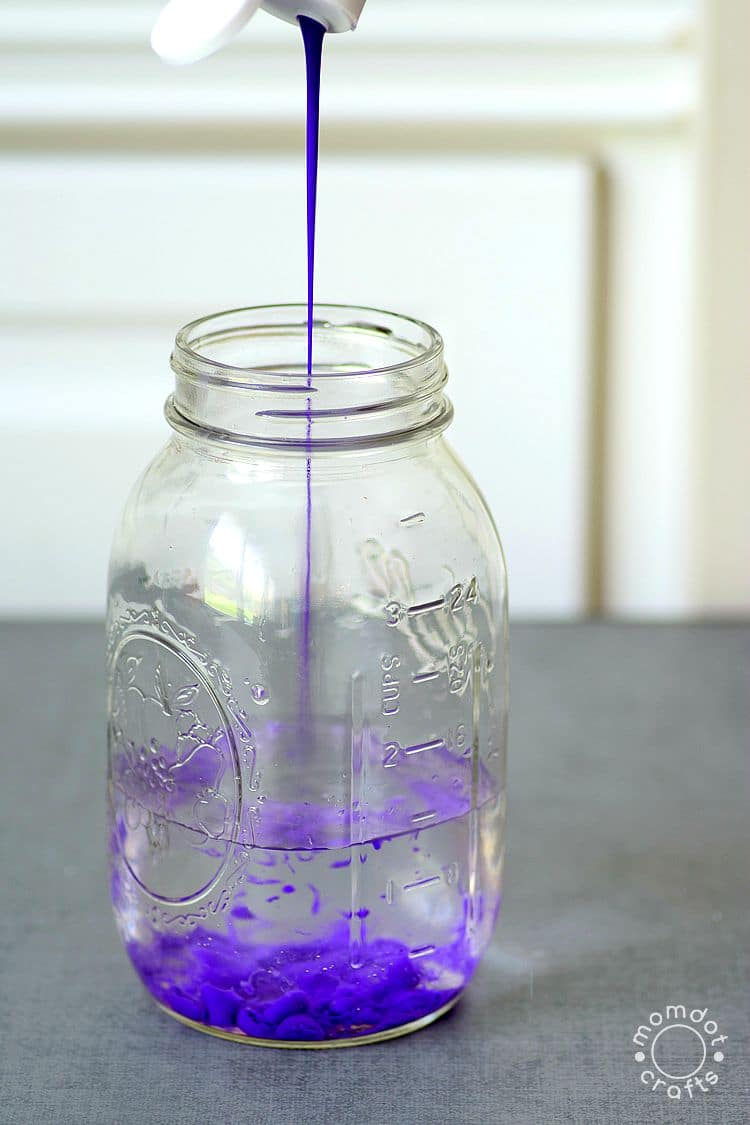
Feel one of your jars with water about 1/3 of the way.
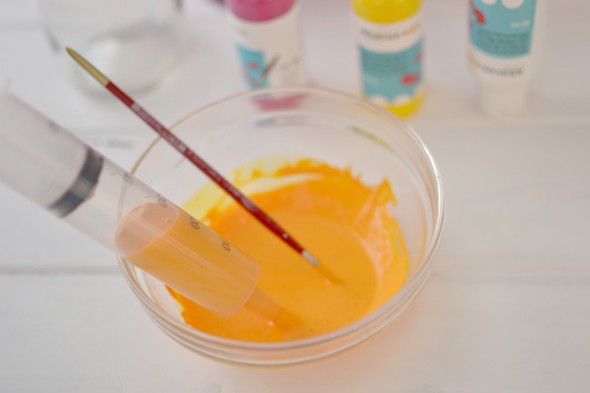
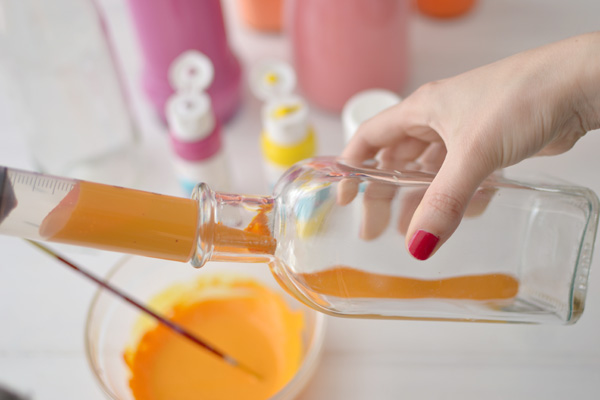
Step 2
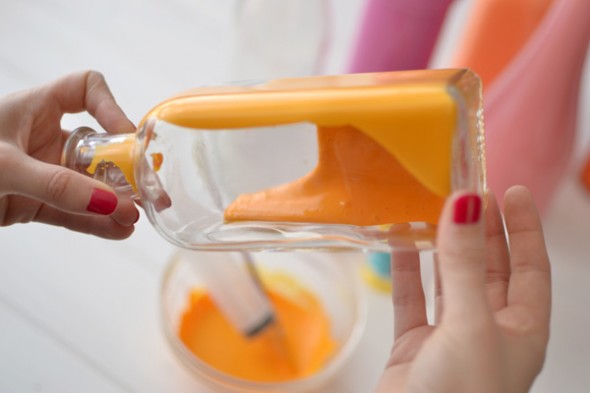
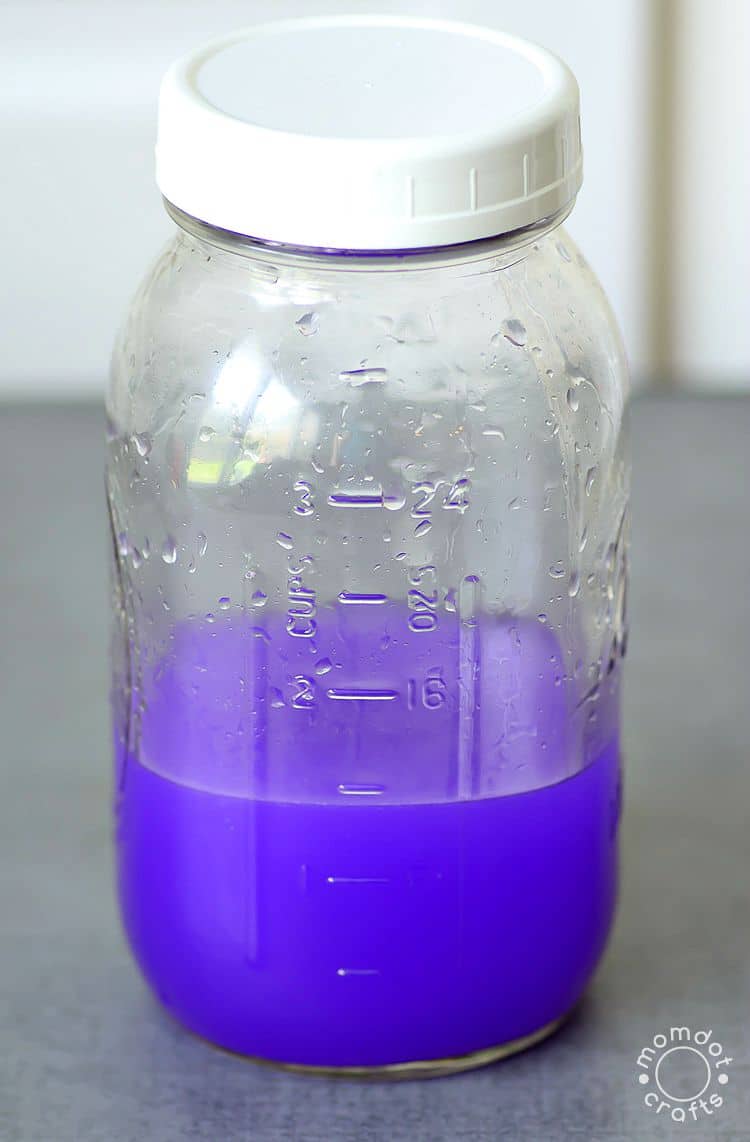
Add a few drops of paint to the water. Afterward, put the lid on the jar and shake the paint/ water mixture together until it is well blended.
 Galaxy Jar Instructions
 kids crafting in mason jars
  
Step 3
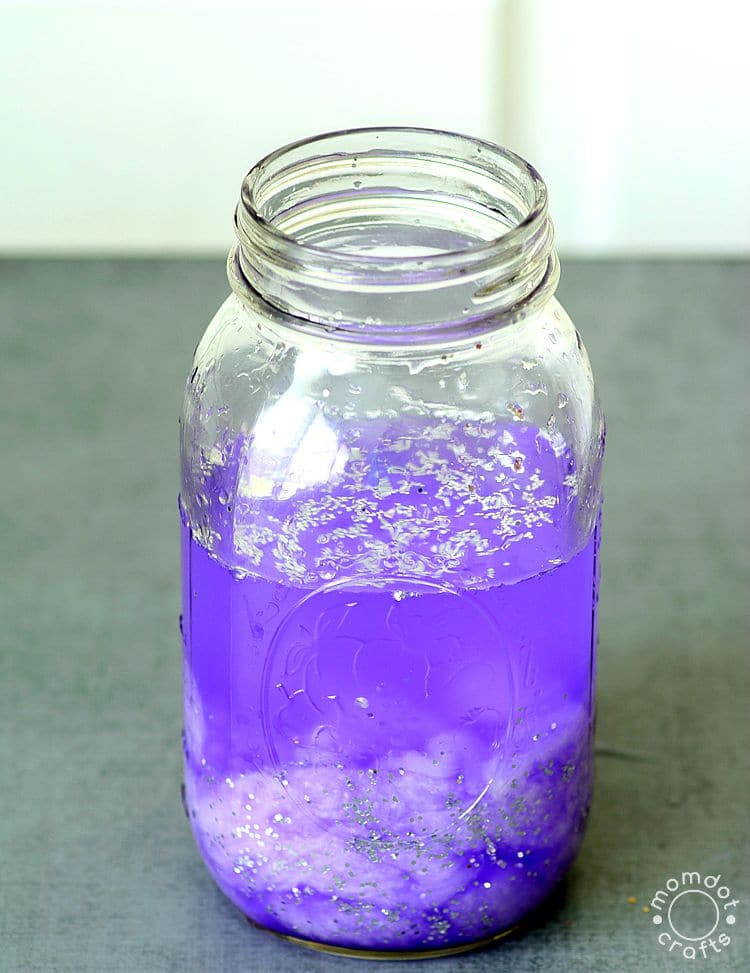
Sprinkle the desired amount of glitter into the mixture, this tutorial uses silver. Next, stretch out cotton balls and put them in your jar. Be sure to layer them on the bottom by pressing down with a butter knife.  
DIY Make your own galaxy in a jar
Galaxy Jar Download

Step 4
Add another 1/3 measurement of water into the jar and then add another few dropps of paint. Shake everything together once again. Be sure the paint is a different color then the first paint you used. This tutrial uses purple and pink.  
 Nebula Jar create the stars

And Voila! 
This tutorial has super easy steps to follow! It make a fun craft to do on a rainy day or even in a classroom. They can add a lot of color and fun to any living space. They can also make great centerpieces at birthday parties and any kind of event. Different colors can be added to these jars to match the color of your bedroom or surrounding areas. With these jars the possibilities are endless.
DIY Galaxy Jars create your own

Thursday, November 19, 2015

DIY Flower Monogram

DIY flower monogram DIY Faux Flower Monogram
Monogramming has definetly came back in style over the last few years. Its used on everything including towels, clothing, shoes, ect. This Monogram project is super cute and very easy to do! It can add a girlish touch to any space! There's a wide variety of different flower combinatons and colors that you can use to fit your own personal style!
Lets get started!

Items
Foam Board
Utility Knife
Glue Gun
Ruler
Pencils
Scissors
Faux Flowers

Step 1
Remove the flowers from it's stem. Afterwards, cut the little plastic knobs as close to the actual flower as possible. 
 
 Step 2
Next, choose the letter that you want to use. Draw out a large sized letter on the foam board using your ruler and then, using the utility knife, cut the letter out. 
Step 3
Now its time to plug in the glue gun and place your flowers on your letter. When gluing your flowers, be sure to glue the big ones first so that you can fill the small leftover spaces with the little ones. Be sure to apply the glue directly on the board instead of the flowers!
 And Voila!
This project is adorable and would look cute in a little girls room or even a teen's room. This project is great for everyone, even those of you who aren't that crafty! It's super cheap to make and not time consuming at all. Ths would make a great DIY gift for birthdays or any other celebration. These letters would also look great in collage dorms or on a bedroom door. You could even create your own initials and put them on the wall over your bed.


Sharpie Mugs

Introduce some West Elm style into your décor for a fraction of the price (55% off!) with this DIY craft project. In just a few minutes you’ll have a custom Catch All Tray that looks like a romantic love letter with this easy Sharpie Plate Tutorial.

These mugs are super adorable and make a great project for those who like to get crafty! This is a fun project for all ages and its very easy to do! Making these mugs can be a fun activity for the kids and can also serve as a fun date idea. Me and my boyfriend made mugs like these for each other and they turned out great!   
Lets Get Started!

Items
White Mug
Oil Based Sharpie OR Glass Paint

Step 1
Create a design on your mug. This is a chance for you to get creative and add your own style! For the picture above, a stencil was used to get that perfect heart.  
Introduce some West Elm style into your décor for a fraction of the price (55% off!) with this DIY craft project. In just a few minutes you’ll have a custom Catch All Tray that looks like a romantic love letter with this easy Sharpie Plate Tutorial.Introduce some West Elm style into your décor for a fraction of the price (55% off!) with this DIY craft project. In just a few minutes you’ll have a custom Catch All Tray that looks like a romantic love letter with this easy Sharpie Plate Tutorial. 
Step 2
 Make sure that your designs are orderly and neat. If you make a mistake, use rubbing alcohol or vodka on a Q tip and wipe it off.
Coffee Mug: "JUST ADD COFFEE" Humor/Funny Hand illustrated cup:

Step 3
Bake the Mug at 350 degrees Fahrenheit for 30 minutes. Doing this will help to harden and "cure"  the paint.
 Introduce some West Elm style into your décor for a fraction of the price (55% off!) with this DIY craft project. In just a few minutes you’ll have a custom Catch All Tray that looks like a romantic love letter with this easy Sharpie Plate Tutorial.

Step 4
Take masking tape and put it around the top edge of your mugs and flip it upside down. Afterwards, seal the mug by spraying it with sealer. The mugs should be completely cool before attempting to spray them. 
The Handmade Dress: Ceramic Painting:

And Voila!
This project is done in 4 easy steps! These mugs make great DIY gifts for the holidays. Get the kids and make DIY mugs for the grandparents, or add a little whimsy to your space by decorating your own mugs. These can also be great for collage students who are living on their own and can't afford nice silverware. With these mugs, the creation possibilities are endless!

Starry Night Jars

starry night luminary

These Starry Night jars are super cute and easy to make! They're great for summertime BBQs and make adorable centerpieces to events and parties. These jars can also  help add a little whimsy to your bedroom. They're very bright, sparkley, and can be made in a wide variety of different colors.
 Lets get started!

Items
Jars
Hairspray
Moon Lights
Glitter- And lots of it! 
 super easy starry night luminaries
Step 1
Spray the inside of your jar with hairspray. For the project, its best to use a strong hold hairspray. This tutorial uses Loreal Lock It hairspray, which has a very sticky texture and holds the glitter in place.

Step 2
Next, add some glitter to the jar, put the lid on it, and shake it up. This will help spread the glitter and make it stick to the hairspray. Be sure that all sides of the jar are coated evenly.  

Step 3
Wait a few minutes for your hairspray/ glitter combination to dry. Afterwards, add your moon lights inside the jar.
And Voila!
Its a super simple craft idea that only takes three easy steps to create! These are very cheap to create and go great with both casual and formal occasions. These jars would look great for a country night wedding or even as decorations to go on the porch. With these starry night jars, the possibilities are endless!    

Tuesday, November 3, 2015

DIY Pumpkin Lanterns

pumpkin lanterns DIY | designlovefest
 
 These pumpkins are so cute and make great Halloween and fall decorations! This DIY project is super fun and only has three simple steps. It makes a great crafting project, and can even be something you can do with the kids. These pumpkins can make great centerpieces in the home, or be put outside on porch steps. Rather you're looking for something to do on a rainy day or are in need of a new craft activity for fall, this project will definetely do the trick!
Lets get started!

Supplies
•pumpkins- This tutorial uses all shapes and sizes
• knives of different sizes, this projected uses serrated knives
• metal spoons of all different sizes
• drill and drill bits, wood worker’s spade bits create larger holes
• masking tape
• pipe cleaners
 
 DSC_2390

 
Step 1
Cut the bottom part of your pumpkin out. Doing this will allow your pumpkin to sit flat. Afterward, pull out all the guts and seeds, and then use your medal spoon to scrape out the remaining gunk from the inside.  
pumpkin lanterns DIY | designlovefest 
 
 
Step 2
Use your masking tape to place spots around your pumpkin to indicate where you want to drill holes. This is where you can get creative! Make fun patterns or do a simple "polka dot" look. Add your own styles and ideas to make it original! Be sure to use the appropriate drill bit for the desired hole size you want. 


Step 3
After drilling the holes, wash your pumpkin off with warm water, be sure to also scrape out any left over pumpkin guts. Afterward, use a pipe cleaner inside the drilled holes to ensure that they are clean with no leftover seeds or gunk.  
 
pumpkin lanterns DIY | designlovefest 
 
And Voila!
This tutrial makes adorable pumpkins that can be used for just about any kind fall decorations! Place a candle or small light into your pumpkin to make it glow at night. You can even paint these pumpkins in all defferent colors to add little a variety and color to your fall decor! Some of the pumpkins in this tutorial were painted white, gold, and yellow! To add sparkle, sprinkle some glitter on your pumpkins or add some shimmer by hot gluing jewels on them. Drilling can also be a great trick to use when making faces on your pumpkins. The possibilities are endless!
 pumpkin lanterns DIY | designlovefest


Monday, November 2, 2015

Galaxy Slime


DIY Galaxy Slime by Twodaloo
How to make Galaxy Slime
Galaxy slime is a fun and easy project! Its great to do with the kids and has just a two simple steps! Kids will love doing this project on a rainy day! The slime is fun to play with and looks pretty. This could also be a fun classroom experiment as well! Especially for children learning about space, galaxies, and the milky way.
Lets get started!


Supplies 
-1 bottle of clear glue, this project uses a 5 oz bottle
-Half a cup of  STA-FLO liquid starch , you can purchase this product at your local walmart
-Liquid watercolors, in order to achieve this look you will need a combination of blue, black, and purple.
-Very fine glitter, this tutorial uses a variety of colors

Step 1
 Get a medium or large sized bowl and pour your clear glue into it. Next, add your in your liquid watercolors, food coloring works as well. Afterward, add your glitter and mix all three ingredients together. 
DIY Galaxy Slime by Twodaloo


Step 2
In this step you'll want to start adding the starch to the mixture. The trick is to not pour it all in at once. You'll want to add just a little bit at of time, until everything is mixed in together. Next, use your hands to knead the starch. This process is similar to making bread dough. After each increment of starch is added, stretch out the slime, this will help you better decipher if you need more starch. 
DIY Galaxy Slime by Twodaloo

 
And Voila!
This tutorial is so incredibly easy and the kids will love it! The slime is very stretchy and makes a fun texture. Its super fun to play with and will keep the kids entertained with hours of fun! The colors still remain pretty even after being mixed together. The creation of this slime is also a great lesson on how polymers work and makes a great STEM activity for elementary aged children.
Stretchy galaxy slime


Wednesday, October 21, 2015

DIY Meson Jar Cocktail Gifts


DIY // Cocktail Mason Jar Gift


Christmas is just around the corner and these mason jar cocktails make adorable gifts! This project is so simple and very creative! This makes a perfect DIY gift for any occasion and it can also make great party favors as well. Each jar can be personalized for each individual, or you can create all the jars the same. Lets get started!

Items Needed
  • 16oz Mason Jar Mugs (mouth must be at least 2.5″ wide)
  • 7.5oz Mini-skinny bottles of soda
  • Mini bottles of alcohol
  • Cute straws
  • Twine and tags
  • Scissors
 For this project, you MUST find cans that are small enough to fit down into your mason jar. For this tutorial, we are using 16 ounce mugs that have a 2.5″ wide mouth. DIY // Cocktail Mason Jar Gift
Step 1
First, tie a double knot around the jar by using two pieces of twine. You want to make it extra sturdy to be sure the first knot is tightly secured onto the mason jar.
DIY // Cocktail Mason Jar Gift
Step 2
Make your second knot is loose enough to where you can fit a straw down into it. After the straw is in the loop of the knot, tighten it just enough to wear the straw won't fall out on its own.
DIY // Cocktail Mason Jar Gift

Step 3
Repeat step two, and insert your mini liquor bottle into the middle of the knot. Be sure its tight enough to where the bottle won't fall out.
 DIY // Cocktail Mason Jar Gift
Step 4
In this step we'll be adding the tag. Tie a bow with two pieces of twine and cut any leftover twine off to give it a neater look. You can write whatever you want on your tag. If your making these as specialized gifts for each person, you could put there names on the tag as well.
DIY // Cocktail Mason Jar Gift

And Voila!
This makes for a cute and easy gift to hand out at parties, events, or even give as a secret Santa gift! Its a fun and easy DIY project that everyone will enjoy! Its great for people that are tight on money or just want to give small gifts to neighbors and friends

DIY Lava Lamp


Want a fun and easy project to do with the kids? Or maybe just a a fun DIY project to do on your own?  This lava lamp is easy to do and makes for a fun activity that everyone of all ages can enjoy! They add a pop of color to any dull space and can make a great centerpiece for parties and events! Let get started!

Supplies
-Vase or water bowl- this tutorial uses a tall and skinny vase
-Food Coloring
-Vegatable Oil
-Water
-Alkesetzer

Step 1
First feel up a cup of water and add your favorite food coloring to it- This tutorial uses hot pink!
If you plan on keeping this lava lamp in your room, use the colors that correspond with the colors of your bedspread, walls, ect.

 
Step 2
Next, fill your vase/ water bottle up with vegtable oil about 3/4th of the way.

 
Step 2
After adding the vegetable oil, pour in the food colored water. Fill it up all the way, leaving about an inch of space at the top for the alkaseltzer. By doing this, the oil and water wont overflow.


Step 3
Break up an alkaseltzer tablet into small pieces and drop them in one piece at a time.  This will cause the oil and water to bubble up, giving it a lava lamp affect.


And Voila!
This tutorial is super easy and fun! To add a rainbow affect, add a variety of colors. The colors will mix and flow together as the alkaseltzer dissolves. Also, you can hold a flash light under the lava lamp, flick off the lights, and watch the colors as the glow in the dark! Once the alkaseltzer completely dissolves, just add another crushed tablet to start back up the bubbles!

Thursday, October 1, 2015

Painted Vases

How to paint vases


Painted vases are in right now and they can add a little color and flare to your home, and look great for the spring and summer months! They make great centerpieces and are way cheaper to do at home. This project serves as a great way to up cycle any old glass bottles, wine glasses, or vases you have laying around.

Materials Needed:
Glass bottles and/or vases
Paint
Plastic syringe
Vase Liner
Flowers

Step 1
Gather your vases and/or glass bottles that you want to use, any shape or size will work! Next, decide on what colors you want to use.
Step one painted vase DIY
Step 2
If you have a particular color in mind that you would like to use, mix two colors together to achieve that tone. Has seen above, you can mix pink and yellow to give off an orange or "sunset" color to your vases.
 Step 2 painted DIY vases
Step 3
After mixing your paint, use the syringe to pour all of it in your vase. Larger bottles will need between 80 and 100 ml. of paint to fully cover it. 
http://rusticweddingchic.com/wp-content/uploads/2013/05/step-3.jpg 
Step 4
Rotate the bottles in different angles, making sure that the paint covers every inch of it.
 Step 4 DIY Project Painted Vases
Step 5
After the paint has evenly covered the inside of the bottles, allow them to dry upside down. Doing this will drain out any left over paint. This step should be done in a sink, on newspapers or absorbent paper. 
Step 5 painted vases diy
Step 6
Allow a day or two for the paint to dry completely, clean off any left over paint off the tip of the glass.
How to make a painted vase 
 And Voila!
These vases can add color and charm to any space! They look great alone or with flowers! They make great decorations in the home, at special events, or even at country weddings!